
You’re in the right place if you’ve been itching to showcase something you love online beyond social media sharing limitations. Your content has the power to educate readers, forge communities, or market a business. Blogging is still an excellent platform for reaching diverse audiences nearly anywhere, and it only take a few simple steps to get started. Learn how to make a blog today!
Contents
Step 1: What are you going to blog about?
Maybe you already have an idea in mind, or perhaps you have several. Some writers prefer to create a catch-all journal of daily adventures, but most blogs these days hone in on a specific topic like parenting, fashion, or travel.
Sticking with one subject consistently or complementary niches (like fitness and diet) makes it easier to attract regular visitors. Staying focused can also boost your ability to become known as an expert in your chosen field.
Your goals are your own to define, but thriving bloggers ask themselves: Who are my readers? What problems are they trying to solve? How can I help them? We’re all seeking solutions to everyday dilemmas, and I’m sure you have some wisdom and experience to share with the right audience.
Pick something you feel confident about based on personal experience, extensive research, and passionate energy. Your chosen topic should have the longevity needed to continue posting regularly. One way to test the waters is to take 15 minutes and brainstorm blog posts ideas to determine ongoing potential.
Find your niche, share your stories, become an authority.
Step 2: What will you name your blog?
Using your name is an excellent way to create a personal brand. Associating your identity with your niche should be prioritized if you choose this option. Another method is to combine your name with another word or two related to your topic, such as Clara’s Candles. And of course, you can nix the name and select whatever word combination has not already been used by someone else.
Stumped? Write down several words that you find appealing and rearrange them until something memorable and unique takes center stage. I typically use a thesaurus like WordHippo to help generate ideas. Run your top candidates through Namechk to find out what’s available on various platforms. You may also want to research trademarks and copyrights to avoid unexpected entanglements.
A top priority is ensuring you can register a domain name that matches your blog name. This detail will make your website appear more professional and easy for readers to find again.
Traditionally, the most desirable and memorable domains end with .com. However, other top-level domain (TLD) extensions are worth consideration. Choose from short options such as .co and .io, or pick a longer word that resonates with your content, like .artist or .game. NameCheap has a wonderful tool for conducting these searches.
Step 3: Setup your domain and hosting
Your blog needs a web host to be visible across the internet. If you choose a free hosting platform, your ability to customize and monetize your blog will be limited. I recommend using an inexpensive shared web hosting provider to gain real traction. Bluehost is a top pick for many new bloggers because they offer competitive pricing and an impressive track record. Plus, Bluehost makes setting up a new WordPress blog simple.
You can register your domain name directly through Bluehost, and it is free for the first year if you sign up for at least 12 months. I recommend adding domain privacy protection (additional fee) to keep your personal contact information hidden from public view.
Registering multiple domains? Explore Namecheap for some excellent deals (check with your web host to find out how to connect your account with domains registered elsewhere).
With a domain name and a web hosting provider, you’ll also be able to set up custom email addresses to match.
More quality web hosting providers to consider:
- Dreamhost – Top notch admin panel and support
- Siteground – Popular with higher bandwidth blogs
- HostGator – Boasts a 99.9% uptime guarantee
Step 4: Create your WordPress blog
Once you’ve signed up for your domain name and a hosting plan, it’s time to create your blog! Bluehost has made it incredibly easy to get started with WordPress by including an installation that’s ready to go once you’ve signed up for an account. The interface walks you through the process, asking questions to ensure a positive result regardless of your experience level.
Many other modern web hosts include similar one-click installations, though they may not be as detailed. If you do not have web development experience or prefer automated processes, you’ll probably want to avoid hosts that require downloading and manually installing the WordPress platform.
After setting up your blog, it’s a good idea to enable an SSL certificate. You can get one for free the first year through a Bluehost plan. This certificate makes your site more secure using HTTPS instead of HTTP. If you see a little lock icon in your browser URL bar, this indicates the use of SSL (Secure Socket Layer).
Why bother? Spammers and hackers often target blogs. Don’t become an opportunity! SSL helps protect you and your visitors’ information, which may be legally required if any sensitive information is involved. Having SSL on your blog will also boost your search engine rankings.
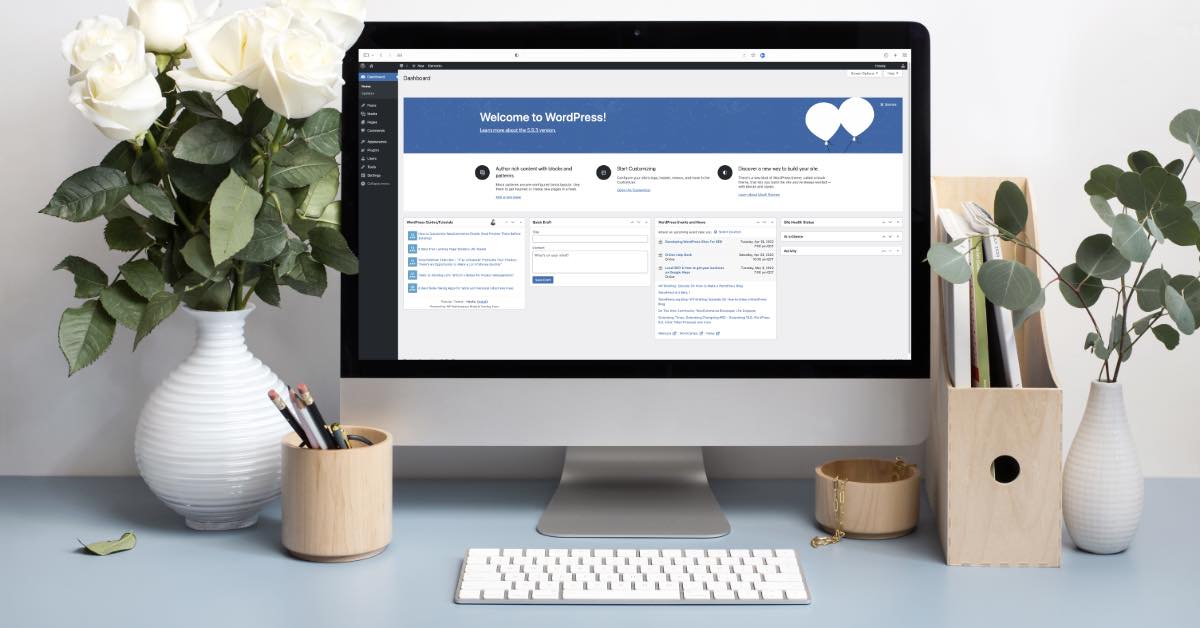
Step 5: Using the WordPress dashboard
The WordPress dashboard can be overwhelming at first glance, but you’ll become familiar in no time! When you first log in, you should look for Settings on the left menu. Make sure your information is correctly displayed.
Your next stop will likely be Appearance, where you can adjust the look of your blog. There are numerous themes available for free, or you can purchase a premium one that matches your vision. Keep in mind that most WordPress themes have options to customize their look further.
Recommended sites for premium themes:
- Theme Forest – Great selection. I’ve made a lot of purchases here!
- Creative Market – Elegant themes plus beautiful fonts and stock
- GeneratePress – More complex, but this is what I currently use
Using plug-ins is another way to modify the look and behavior of your blog. These snippets of code can enhance your site and make development easier. For instance, you might want a plug-in that displays popular posts, adds social media links, or creates a contact form. Be aware that adding too many plug-ins can clutter your page and slow down your blog, so choose wisely.
Recommended plug-ins for starting out:
- Akismet Anti-spam – Block unwanted comment spam
- WPS Hide Login – Allows you to change your login URL
- Yoast SEO – Improve your search engine optimization
And now, you should be ready to start writing by clicking on the New Post menu item. Along with the blog post editor, this area provides options for assigning a featured image, categories, tags, and more. You can also save your entries as drafts until ready for publication.
I hope this basic guide helps get your new blog up and running. If you’re seeking more tips to customize and maintain your blog, keep perusing this website for more detailed tips and tutorials!